Welcome To

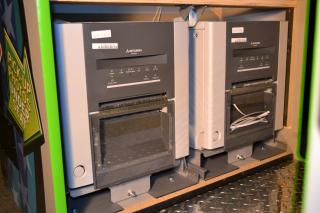
- Be sure the cabinet is powered on
- Using the keys zip tied to the curtain rod, unlock and open the printer access door located under the seat inside the booth
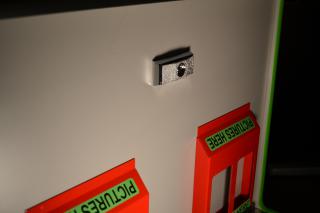
- Remove the printer access door
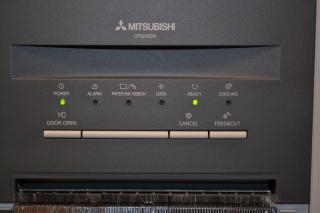
- Press the "Door Open" button on the front of the printer you are loading paper into
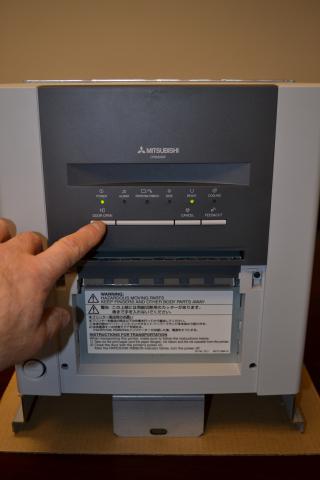
- The printer will unlock the door and allow it to be rotated downwards
- Remove all shipping material from inside of the printer
- Locate the two paper support reels from inside the parts box
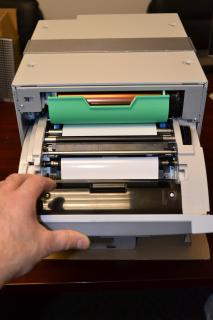
- Place a support reel in either side of the paper roll
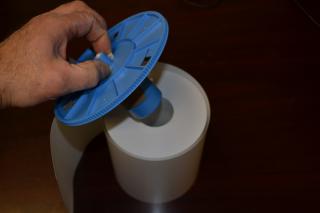
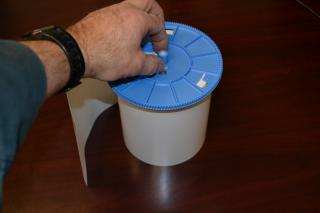
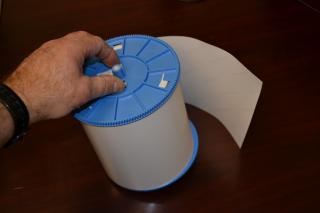
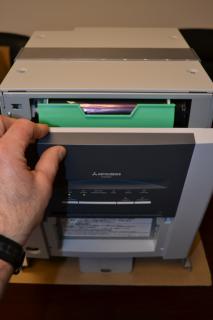
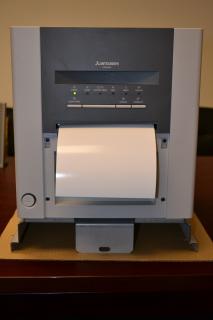
- Set the roll of paper in the printer, locking the two support reels in place

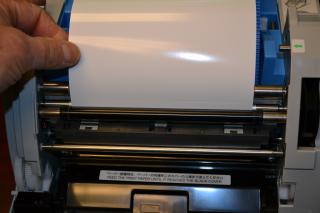
- Take the end of the paper strip and feed it through the rollers as shown
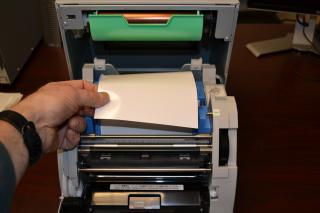
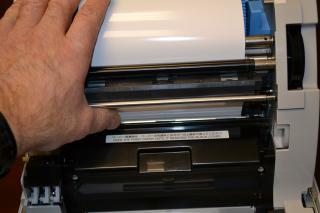
- Rotate the door up until the door locks in the vertical position
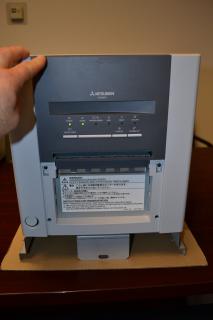
- After the door is locked into place, the printer will feed four sheets of paper through to make sure the paper is installed properly
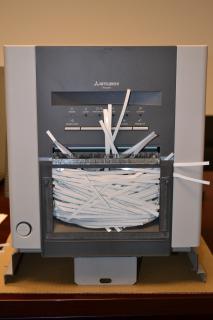
- Take the shard tray out of the printer

- If the shard tray is left in the printer, there's a much higher chance of the printer jamming, shown below
- The "READY" light will turn green on the printer after the ink and paper have been loaded properly
- Contiune with Loading the Film / Ink Tray