Welcome To

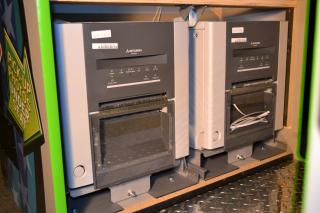
- Be sure the cabinet is powered on
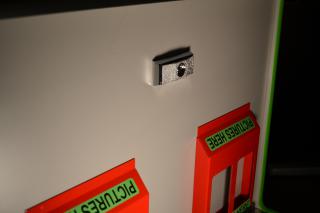
- Using the keys zip tied to the curtain rod, unlock and open the printer access door located under the seat inside the booth
- Remove the printer access door
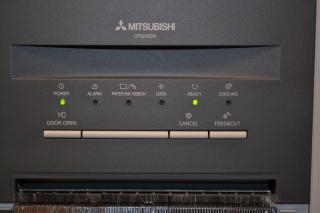
- Press the "Door Open" button on the front of the printer you are loading paper into
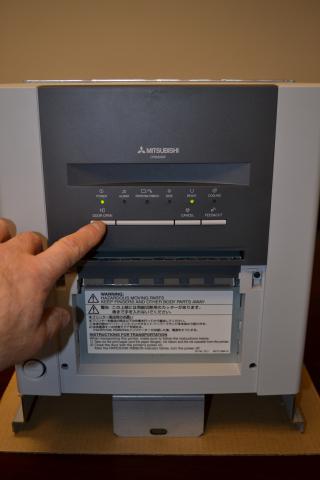
- The printer will unlock the door and allow it to be rotated downwards
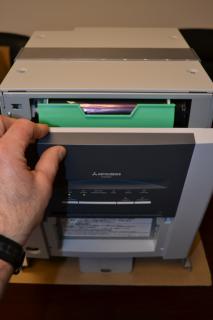
- The ink ribbon and ribbon support tray are located in the parts box
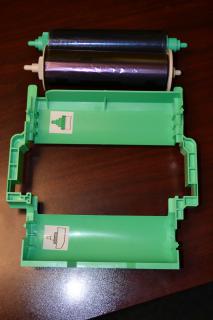
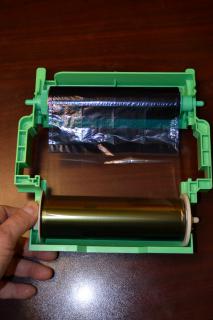
- Place the ribbon in the support tray following the color guides on the tray

- The ink ribbon should rotate easily in the tray
- Slide the ink ribbon support tray into the top of the printer
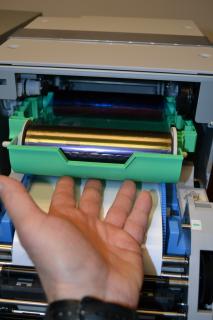

- The front of the tray should be flush with the front of the printer if installed properly

- Rotate the door up until the door locks in the vertical position
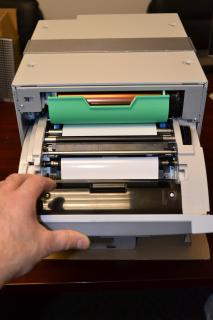
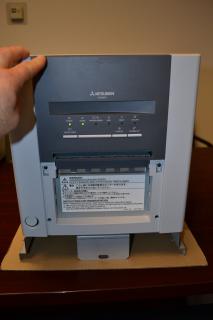
- The "READY" light will turn green on the printer after the ink and paper have been loaded properly
- Return to Manual Index