Welcome To

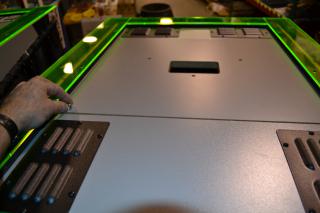
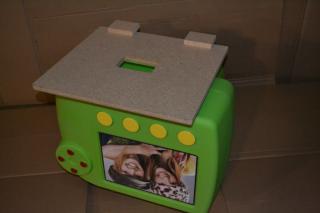
- The access panel that the camera mounts to is located on top of the photobooth
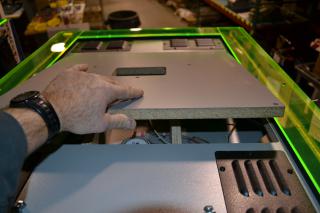
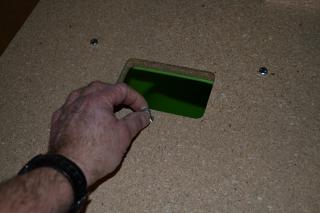
- Remove the two bolts holding the access panel down
- Lift the access panel off of the cabinet
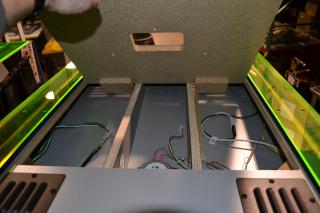
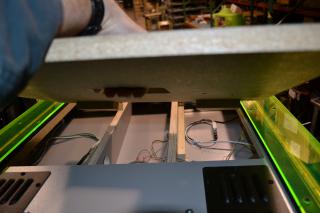
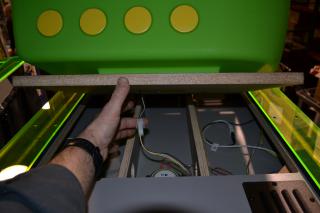
- Remove the camera topper from the inside of the cabinet

- Turn the camera upside down and locate the wire inside of the camera

- Place the top access panel on the upside down camera with the three bolt holes aligned
- Secure the camera to the access panel using the bolts, nuts, and washers provided
- Place the camera and access panel back on top of the cabinet making sure to connect the wire inside the camera to the matching connector on top of the photobooth
- Secure the camera and access panel to the top of the cabinet using the two bolts removed earlier
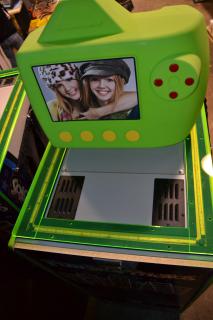
- The result should look like this with the camera topper pointing towards the back of the cabinet

- Proceed to Loading Paper in the Printer